android的多点触摸是经常遇到的编程技巧,这一篇可以将详细的介绍这个问题。
简单实例
android的触摸需要实现OnTouchListener接口,继承里面方法。
布局代码:
<?xml version="1.0" encoding="utf-8"?><LinearLayout xmlns:android="http://schemas.android.com/apk/res/android" android:layout_width="match_parent" android:layout_height="match_parent" android:orientation="vertical" > <FrameLayout android:id="@+id/frame" android:layout_width="fill_parent" android:layout_height="fill_parent"> </FrameLayout></LinearLayout>java代码;
public class MainActivity extends Activity { private FrameLayout frame; @Override protected void onCreate(Bundle savedInstanceState) { super.onCreate(savedInstanceState); setContentView(R.layout.main); frame = (FrameLayout) findViewById(R.id.frame); frame.setOnTouchListener(new OnTouchListener() { @Override public boolean onTouch(View v, MotionEvent event) { switch (event.getAction()) { case MotionEvent.ACTION_DOWN: System.out.println("down"); break; case MotionEvent.ACTION_UP: System.out.println("up"); break; case MotionEvent.ACTION_MOVE: System.out.println("move"); break; default: break; } return false; } }); }}事件的传递
注意上面的方法的返回的布尔值,代表该触屏事件是否成功,如果不成功不会继续下一个触屏事件。
上面的ACTION_DOWN是要收放在屏幕上触发,ACTION_MOVE是手指在屏幕上移动时候触发,ACTION_UP是离开屏幕时候触发他们事件会有一个逻辑的先后顺序,如果像上面那样。返回值为false只会触发ACTION_DOWN不会触发后面的方法,所以要改为return true;
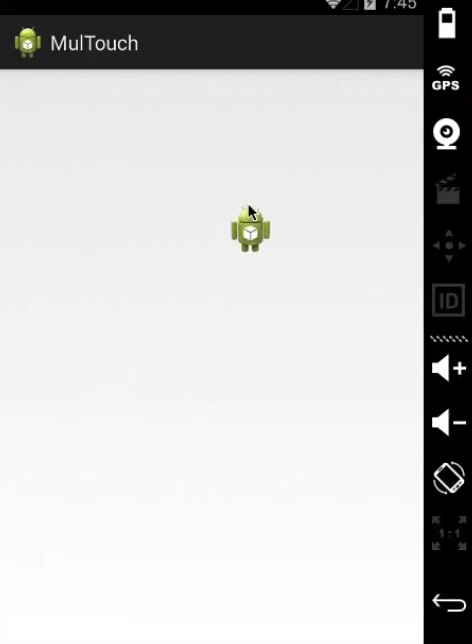
android机器人随着鼠标移动的实例
本例中出现了LayoutParams这个类。这个类是要向父类布局,说明子类控件的位置。
首先获取触摸点的位置,然后设置imageView控件的位置,正好与触摸点重合,就造成了图像随着鼠标移动的效果。
布局代码
<?xml version="1.0" encoding="utf-8"?><LinearLayout xmlns:android="http://schemas.android.com/apk/res/android" android:layout_width="match_parent" android:layout_height="match_parent" android:orientation="vertical" > <FrameLayout android:id="@+id/frame" android:layout_width="fill_parent" android:layout_height="fill_parent"> <ImageView android:layout_width="wrap_content" android:layout_height="wrap_content" android:id="@+id/image" android:src="@drawable/ic_launcher"/> </FrameLayout></LinearLayout>java代码
public class MainActivity extends Activity { private FrameLayout frame; private ImageView image; @Override protected void onCreate(Bundle savedInstanceState) { super.onCreate(savedInstanceState); setContentView(R.layout.main); frame = (FrameLayout) findViewById(R.id.frame); image = (ImageView) findViewById(R.id.image); frame.setOnTouchListener(new OnTouchListener() { @Override public boolean onTouch(View v, MotionEvent event) { switch (event.getAction()) { case MotionEvent.ACTION_DOWN: System.out.println("down"); break; case MotionEvent.ACTION_UP: System.out.println("up"); FrameLayout.LayoutParams lp = (LayoutParams) image.getLayoutParams(); lp.leftMargin = (int)event.getX(); lp.rightMargin = (int)event.getY(); image.setLayoutParams(lp); System.out.println(String.format("x:%f,y:%f", event.getX(),event.getY())); break; case MotionEvent.ACTION_MOVE: System.out.println("move"); break; default: break; } return false; } }); }}效果图