1.FrameLayout
帧布局,效果为多个图层依次叠加,比如说画一幅画,在FrameLayout中先添加背景imageView,再添加其他的事物imageView即可。
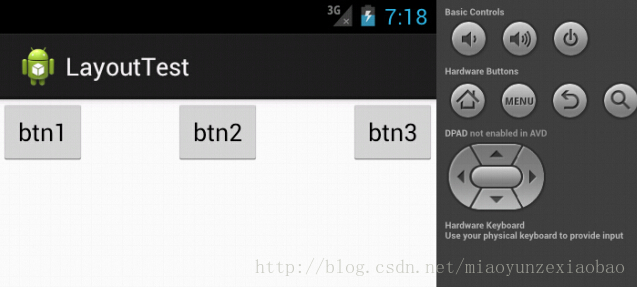
如何实现三个按钮在水平方向上左对齐、居中对其和右对齐?
在FrameLayout中可对每个View设置Layout_gravity属性实现
code:
<FrameLayout xmlns:android="http://schemas.android.com/apk/res/android" xmlns:tools="http://schemas.android.com/tools" android:id="@+id/linearLayout" android:layout_width="fill_parent" android:layout_height="fill_parent" tools:context=".MainActivity" > <Button android:id="@+id/btn1" android:layout_width="wrap_content" android:layout_height="wrap_content" android:layout_gravity="left" android:text="btn1" /> <Button android:id="@+id/btn2" android:layout_width="wrap_content" android:layout_height="wrap_content" android:layout_gravity="center_horizontal" android:text="btn2" /> <Button android:id="@+id/btn3" android:layout_width="wrap_content" android:layout_height="wrap_content" android:layout_gravity="right" android:text="btn3" /> </FrameLayout>效果图:
2.LinearLayout布局
在LinearLayout中添加分界线:
通过设置android:ShowDividers属性(none/beginning/end/middle)和android:drivider属性(Drawable ID)
如何在LinearLayout中实现三个按钮水平方向分别居于左中右位置?
设置Button的layout_weight属性即可
3.RelativeLayout布局
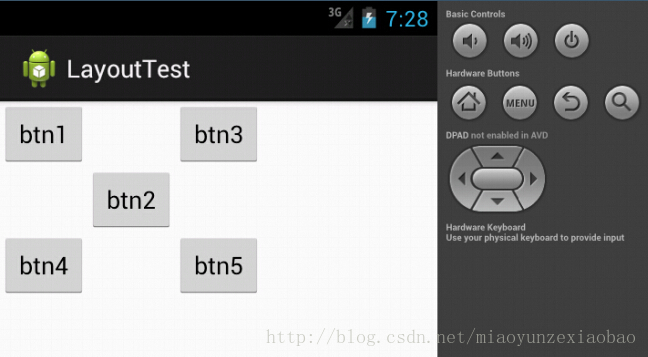
实现5个按钮梅花状排序。
效果图:
code:
<RelativeLayout xmlns:android="http://schemas.android.com/apk/res/android" xmlns:tools="http://schemas.android.com/tools" android:id="@+id/linearLayout" android:layout_width="fill_parent" android:layout_height="fill_parent" tools:context=".MainActivity" > <Button android:id="@+id/btn1" android:layout_width="wrap_content" android:layout_height="wrap_content" android:text="btn1" /> <Button android:id="@+id/btn2" android:layout_width="wrap_content" android:layout_height="wrap_content" android:layout_below="@+id/btn1" android:layout_toRightOf="@+id/btn1" android:text="btn2" /> <Button android:id="@+id/btn3" android:layout_width="wrap_content" android:layout_height="wrap_content" android:layout_above="@+id/btn2" android:layout_toRightOf="@+id/btn2" android:text="btn3" /> <Button android:id="@+id/btn4" android:layout_width="wrap_content" android:layout_height="wrap_content" android:layout_below="@+id/btn2" android:layout_toLeftOf="@+id/btn2" android:text="btn4" /> <Button android:id="@+id/btn5" android:layout_width="wrap_content" android:layout_height="wrap_content" android:layout_below="@+id/btn2" android:layout_toRightOf="@+id/btn2" android:text="btn5" /></RelativeLayout>
如何动态改变控件在布局中的位置?
通过LayoutParams实现。
code:
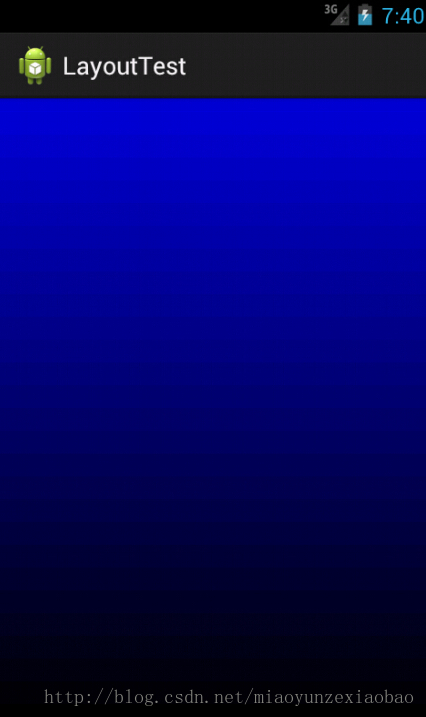
btn = (Button) findViewById(R.id.btn1); btn.setOnClickListener(new OnClickListener() { @Override public void onClick(View v) { RelativeLayout.LayoutParams lp = new RelativeLayout.LayoutParams( ViewGroup.LayoutParams.WRAP_CONTENT, ViewGroup.LayoutParams.WRAP_CONTENT); if(i == 1){ i = 0; lp.addRule(RelativeLayout.CENTER_IN_PARENT,RelativeLayout.TRUE); } else{ i = 1; lp.addRule(RelativeLayout.ALIGN_PARENT_TOP,RelativeLayout.TRUE); } btn.setLayoutParams(lp); } });4.设置背景渐变色GradientDrawable,通过向函数传入渐变方向及颜色数组设置背景渐变情况
code:
@Override protected void onCreate(Bundle savedInstanceState) { super.onCreate(savedInstanceState); setContentView(R.layout.activity_main); int[] col = {Color.BLUE,Color.BLACK}; GradientDrawable gd = new GradientDrawable(Orientation.TOP_BOTTOM, col); getWindow().setBackgroundDrawable(gd); }效果图: