前天我发了一篇关于android开发条码识别软件应用程序的博客,没想到竟很受关注。
我也挺受鼓舞的,好吧,我接上次的博客继续往下写。
前篇有人讲我写的没有实质内容,我接受建议,这里我就带大家体验一下最简单最直接的完美体验。
编写你的第一个android条码识别程序。zxing的简单使用!
第一步:下载zxing组件:我上篇也简单介绍了一下这个组件,这里也不啰嗦了。
下载两个东东
源码和文档说明:
地址下如
http://code.google.com/p/zxing/downloads/detail?name=ZXing-1.6.zip&can=2&q=
BarcodeScanner3.5.apk这个是编译好的一个可安装的apk程序!这个后面将用到。
地址如下
http://code.google.com/p/zxing/downloads/detail?name=BarcodeScanner3.51b1.apk&can=2&q=
第二步:
模拟器已完全打开后
安装BarcodeScanner3.5.apk
cmd中cd 到sdk目录
利用adb命令安装BarcodeScanner3.5.apk
adb install BarcodeScanner3.5.apk 所在目录,请确定安装成功了。
第三步:ok 终于到编码了!
?
 代码
代码对应的xml如下
?
?
1 2 3 4 5 6 7 8 9 10 11 | <?xml version="1.0" encoding="utf-8"?><LinearLayout xmlns:android="http://schemas.android.com/apk/res/android"????android:orientation="vertical" android:layout_width="fill_parent"????android:layout_height="fill_parent">????<TextView android:layout_width="fill_parent"????????android:layout_height="wrap_content" android:text="@string/hello"????????android:id="@+id/mytxt" />? ????<Button android:text="点我开始扫描" android:id="@+id/mybtn"????????android:layout_width="wrap_content" android:layout_height="wrap_content"></Button></LinearLayout> |
第三步:OK我们赶快看看效果吧,?运行。
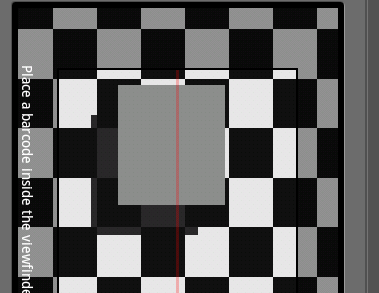
你会看到如下:

模拟器当然没有摄像头设备是扫描不到结果的。
总结:
这里只是做了一个简单的调用,调用简单但有一个很大的缺陷,这里我们要安装两个程序!
在安装BarcodeScanner3.5.apk为前题,这明显不能接受!所以接下来我将在下篇博客继续深入。敬请关注!