上篇介绍了CheckBox,这节,将接触到的是RadioGroup和RadioButton。
它们的关系是:一个RadioGroup对应多个RadioButton,而一个RadioGroup中的RadioButton只能同时有一个被选中,它的选中值就是该RadioGroup的选中值。
这一节的代码运行效果图如下所示:
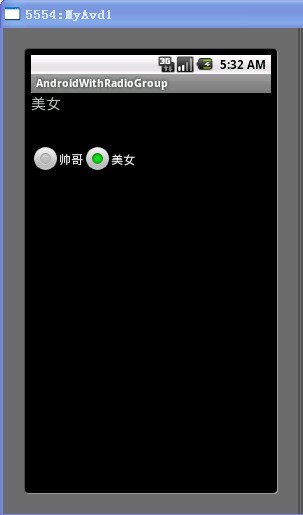
具体的代码编写过程如下:
首先在strings.xml中添加本程序所要用到的字符串:
<?xml version="1.0" encoding="utf-8"?><resources> <string name="hello">Hello World, Test!</string> <string name="app_name">AndroidWithRadioGroup</string> <string name="radio_1">帅哥</string> <string name="radio_2">美女</string> <string name="question">请问你的性别是?</string></resources>
接下来就是在main.xml中添加一个显示信息的TextView和一个RadioGroup,该RadioGroup包含两个RadioButton,代码如下:
<TextView android:id="@+id/showText" android:layout_width="228px" android:layout_height="49px" android:text="@string/question" android:textSize="20sp" /> <!-- 建立一个radioGroup --><RadioGroup android:id="@+id/radioGroup" android:layout_width="137px" android:layout_height="216px" android:orientation="horizontal"> <!-- 建立一个RadioButton --><RadioButton android:id="@+id/radioButton1" android:layout_width="wrap_content" android:layout_height="wrap_content" android:text="@string/radio_1"/> <!-- 建立第二个RadioButton --><RadioButton android:id="@+id/radioButton2" android:layout_width="wrap_content" android:layout_height="wrap_content" android:text="@string/radio_2"/> </RadioGroup>
接下来就是在Activity的子类中,获取到以上定义的三个组件,而后给RadioGroup添加上OnCheckedChangeListener并实现监听方法。
代码如下:
super.onCreate(savedInstanceState); setContentView(R.layout.main); textView = (TextView) findViewById(R.id.showText); radioGroup = (RadioGroup) findViewById(R.id.radioGroup); radioButton1 = (RadioButton) findViewById(R.id.radioButton1); radioButton2 = (RadioButton) findViewById(R.id.radioButton2); radioGroup.setOnCheckedChangeListener(new OnCheckedChangeListener() { public void onCheckedChanged(RadioGroup group, int checkedId) { if (checkedId == radioButton1.getId()) { textView.setText(radioButton1.getText()); } else if (checkedId == radioButton2.getId()) { textView.setText(radioButton2.getText()); } } });