一,环境配置
操作系统:Unbutu14.04LTS
JDK: 1.8.0_40
git: 1.9.1
gradle: 2.2.1
二,源码下载-编译-导入eclipse-验证
1,下载
使用git直接clone Spring源码到本地:git clone git://github.com/SpringSource/spring-framework.git
2,编译
编译过程,这里所谓的编译是通过gradle工具编译Spring-framework的项目文件,主要干的事情就是下载Spring各个模块依赖的jar包,这个过程一般情况下非常慢,可能是因为资源都在墙外,并且可能出现jar包很久下载不下来的情况,这时候直接ctrl+c退出编译命令后再次执行命令,对于已经下载下来的以来包不会再次下载,所以编译的过程相当与可以断线重连的效果。
①进入源码目录执行:gradle eclipse -x :eclipse (我整整花费了1上午才编译通过)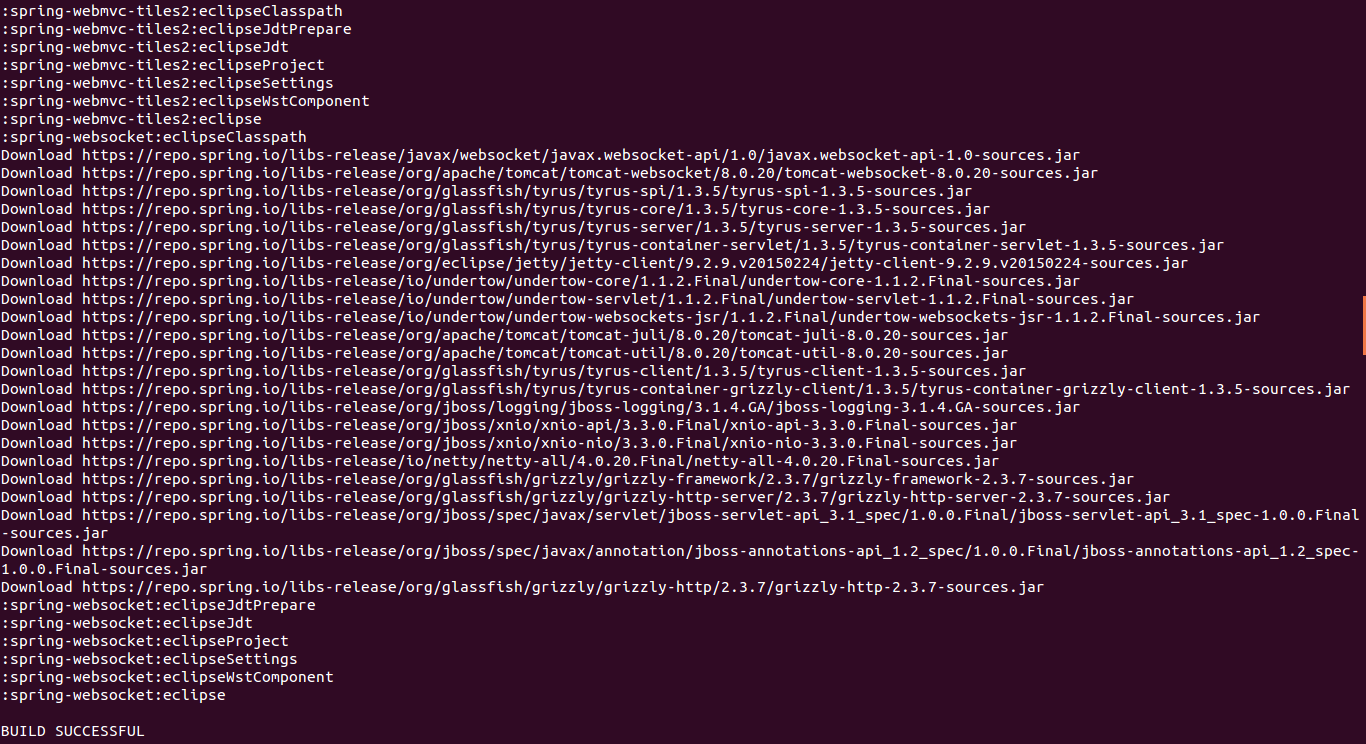
②,执行gradle install 这个具体神马作用我还不清楚,但是不执行这个命令导入①编译后的代码进eclipse后会有一堆build path error,猜想应该是将步骤1中down下来的依赖存入gradle本地仓库以便于项目查找使用相关依赖。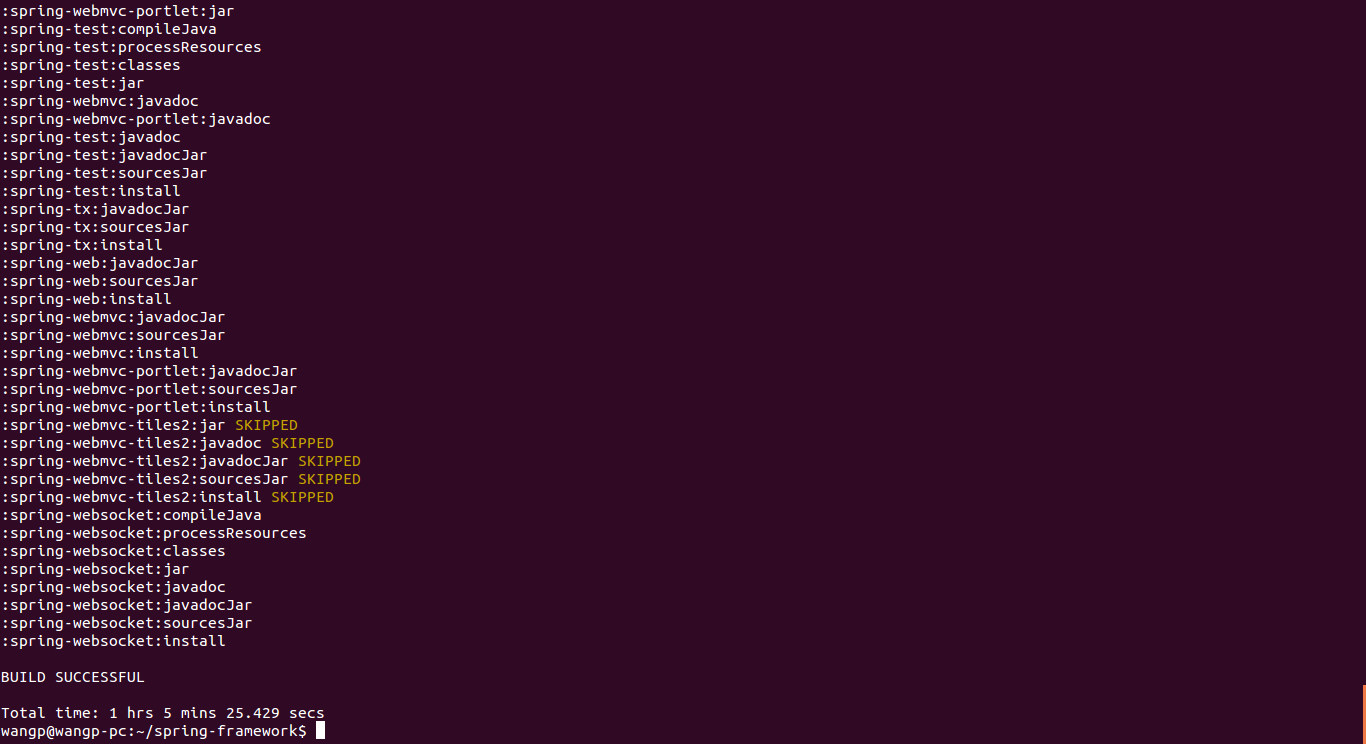
③,直接通过eclipse的import到入Spring-framework源码目录
groovy这个项目可能会有方法找不到,主要原因时你的eclipse没有装Groovy插件,装上后clean下项目就OK了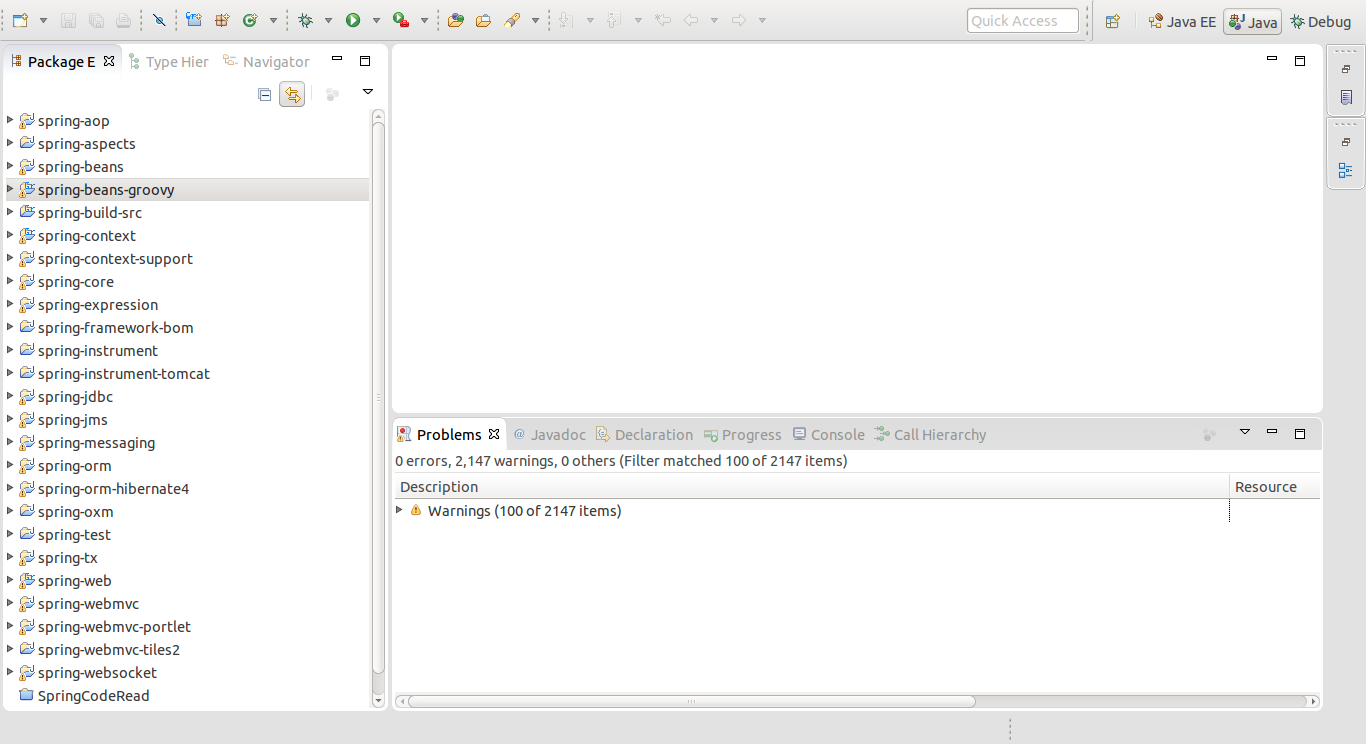
④,验证
写一个简单的测试项目,简单的IoC调用功能,依赖spring-context项目
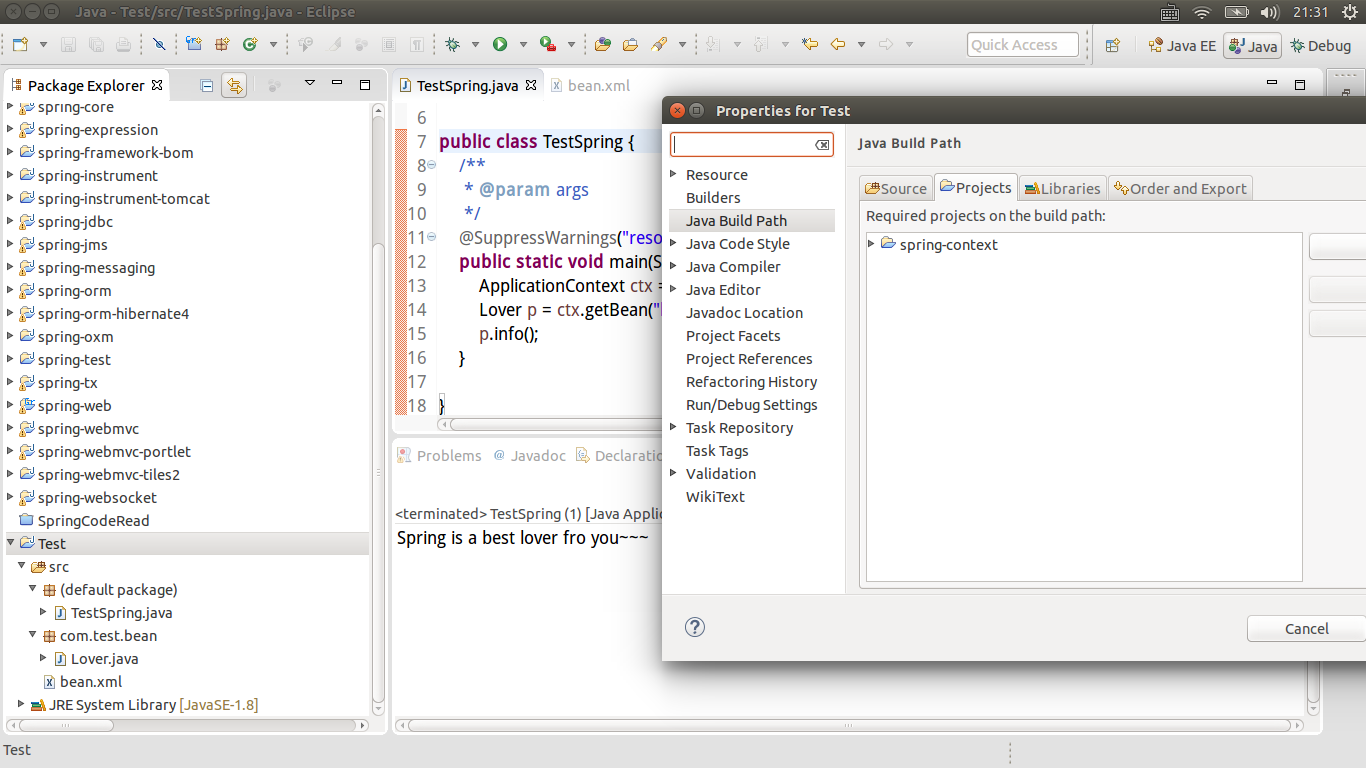
a),TestSpring.java1 import org.springframework.context.ApplicationContext; 2 import org.springframework.context.support.ClassPathXmlApplicationContext; 3 4 import com.test.bean.Lover; 5 6 7 public class TestSpring { 8 /** 9 * @param args10 */11 @SuppressWarnings("resource")12 public static void main(String[] args) {13 ApplicationContext ctx = new ClassPathXmlApplicationContext("bean.xml");14 Lover p = ctx.getBean("lover",Lover.class);15 p.info();16 }17 18 }
b),Lover.java
1 package com.test.bean; 2 3 public class Lover { 4 5 private String name; 6 private int age; 7 8 public String getName() { 9 return name;10 }11 public void setName(String name) {12 this.name = name;13 }14 public int getAge() {15 return age;16 }17 public void setAge(int age) {18 this.age = age;19 }20 public void info(){21 System.out.println("Spring is a best lover fro you~~~");22 }23 }
c),bean.xml
1 <?xml version="1.0" encoding="UTF-8"?> 2 <beans 3 xmlns="http://www.springframework.org/schema/beans" 4 xmlns:xsi="http://www.w3.org/2001/XMLSchema-instance" 5 xmlns:context="http://www.springframework.org/schema/context" 6 xsi:schemaLocation="http://www.springframework.org/schema/beans 7 http://www.springframework.org/schema/beans/spring-beans-2.5.xsd 8 http://www.springframework.org/schema/context 9 http://www.springframework.org/schema/context/spring-context-2.5.xsd10 ">11 12 <bean id="lover" class="com.test.bean.Lover" scope="prototype"></bean>13 14 </beans>
三,总结
本文主要小结了Spring源码的下载(github),编译(gradle),导入eclipse的过程,最后简单测试了导入eclipse后的SpringIoC模块的功能。从此开启了Spring源码深入研究之路。
本文版权所有,转载请注明出处