这篇文章开始springMVC的介绍,但是项目框架是基于之前MAVEN系列的。本文是基于MAVEN自动部署到tomcat的,如果有什么不了解的可以去看一下。
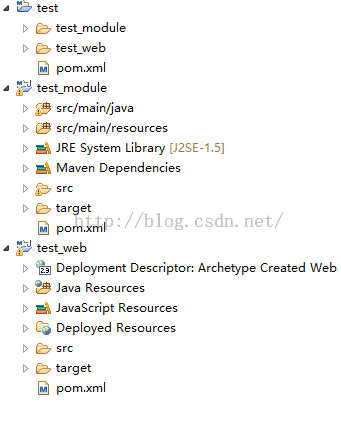
目前项目的结构如下:
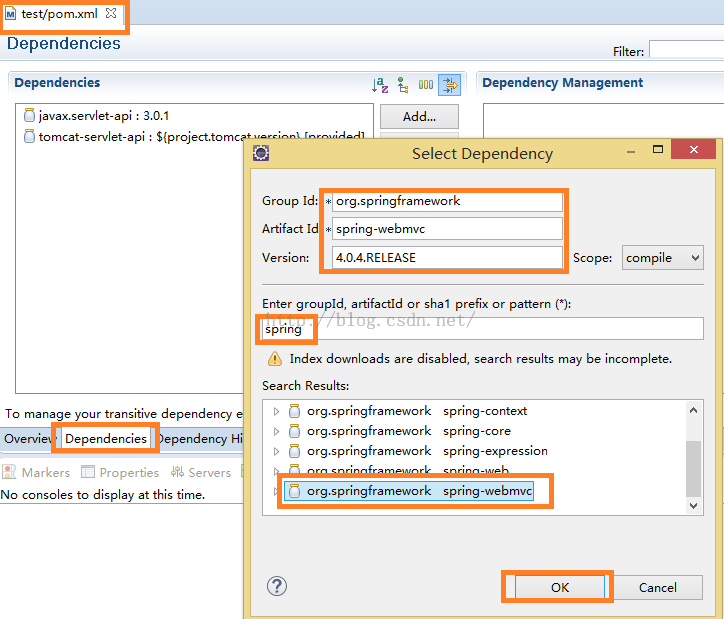
首先我们需要引入springMVC的依赖,在test/pom.xml中点击dependencies,如下图所示,查找spring就可以自动引入了:
点击ok之后pom文件就已经加入了如下代码:
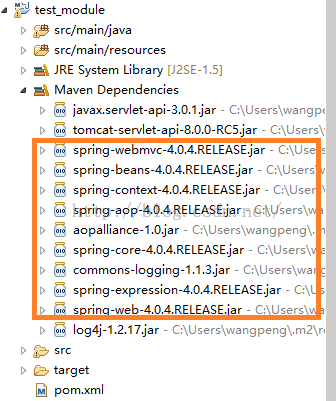
<dependency> <groupId>org.springframework</groupId> <artifactId>spring-webmvc</artifactId> <version>4.0.4.RELEASE</version> </dependency>模块test_module中也已经自动增加了springMVC的库:
现在springMVC的依赖已经加好了,现在需要对项目进行配置了。
首先编辑test_web的web.xml文件,添加如下代码:
<servlet> <servlet-name>SpringMVC</servlet-name> <servlet-class>org.springframework.web.servlet.DispatcherServlet</servlet-class> <init-param> <param-name>contextConfigLocation</param-name> <param-value>classpath*:spring-mvc.xml</param-value> </init-param> <load-on-startup>1</load-on-startup> </servlet> <servlet-mapping> <servlet-name>SpringMVC</servlet-name> <!-- Filter all resources --> <url-pattern>/</url-pattern> </servlet-mapping>这是注册servlet方式的配置,当然你也可以注册listener。
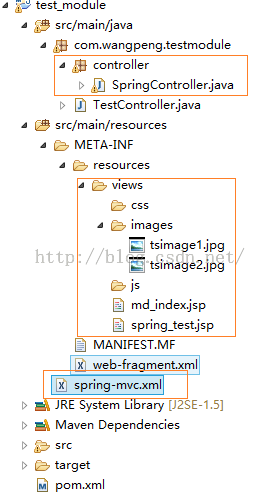
然后在test_module模块中添加如下文件:
现在看一下spring-mvc.xml的配置:
<?xml version="1.0" encoding="UTF-8"?><!-- 查找最新的schemaLocation 访问 http://www.springframework.org/schema/ --><beans xmlns="http://www.springframework.org/schema/beans" xmlns:aop="http://www.springframework.org/schema/aop" xmlns:context="http://www.springframework.org/schema/context" xmlns:mvc="http://www.springframework.org/schema/mvc" xmlns:tx="http://www.springframework.org/schema/tx" xmlns:xsi="http://www.w3.org/2001/XMLSchema-instance" xsi:schemaLocation="http://www.springframework.org/schema/aop http://www.springframework.org/schema/aop/spring-aop-4.0.xsd http://www.springframework.org/schema/beans http://www.springframework.org/schema/beans/spring-beans-4.0.xsd http://www.springframework.org/schema/context http://www.springframework.org/schema/context/spring-context-4.0.xsd http://www.springframework.org/schema/mvc http://www.springframework.org/schema/mvc/spring-mvc-4.0.xsd http://www.springframework.org/schema/tx http://www.springframework.org/schema/tx/spring-tx-4.0.xsd"> <!-- 启用MVC注解 --> <mvc:annotation-driven /> <!-- 静态资源文件,不会被Spring MVC拦截 --> <mvc:resources mapping="/views/images/**" location="/views/images/" /> <!-- 指定Spring组件扫描的基本包路径 --> <context:component-scan base-package="com.wangpeng.testmodule.controller" /> <!-- JSP视图解析器 --> <bean class="org.springframework.web.servlet.view.InternalResourceViewResolver"> <property name="prefix" value="/views/" /> <property name="suffix" value=".jsp" /> <property name="order" value="1" /> </bean></beans>至此springMVC基本配置就已经OK了,下面看一下测试代码spring_test.jsp:
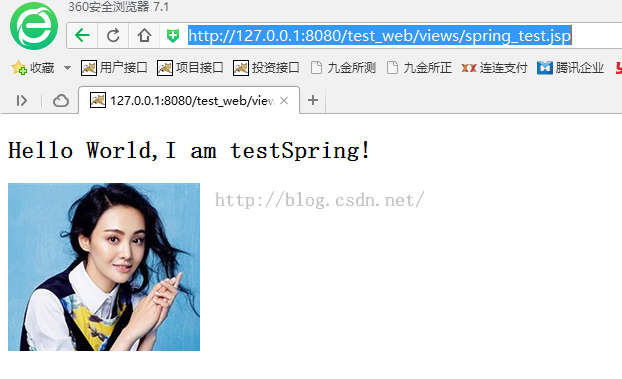
<%@ page language="java" contentType="text/html; charset=utf-8" pageEncoding="utf-8"%><!DOCTYPE html PUBLIC "-//W3C//DTD HTML 4.01 Transitional//EN" "http://www.w3.org/TR/html4/loose.dtd"><html><head><meta http-equiv="Content-Type" content="text/html; charset=utf-8"></head><body><h2>Hello World,I am testSpring!</h2><img alt="springtestimage1" src="images/tsimage1.jpg"></body></html>发布之后测试如下图:
版权声明:本文为博主原创文章,未经博主允许不得转载。