Matrix ,中文里叫矩阵,高等数学里有介绍,在图像处理方面,主要是用于平面的缩放、平移、旋转等操作。
首先介绍一下矩阵运算。加法和减法就不用说了,太简单了,对应位相加就好。图像处理,主要用到的是乘法 。下面是一个乘法的公式:

在 Android 里面, Matrix 由 9 个 float 值构成,是一个 3*3 的矩阵。如下图。

解释一下,上面的 sinX 和 cosX ,表示旋转角度的 cos 值和 sin 值,注意,旋转角度是按顺时针方向计算的。 translateX 和 translateY 表示 x 和 y 的平移量。 scale 是缩放的比例, 1 是不变, 2 是表示缩放 1/2 。
Matrix的操作,总共分为四种:
translate(平移),
rotate(旋转),
scale(缩放).
skew(倾斜).
每一种变换在
Android的API里都提供了set, post和pre三种操作方式,除了translate,其他三种操作都可以指定中心点。
set是直接设置Matrix的值,每次set一次,整个Matrix的数组都会变掉。
post是后乘,当前的矩阵乘以参数给出的矩阵。可以连续多次使用post,来完成所需的整个变换。例如,要将一个图片旋
转30度,然后平移到(100,100)的地方,那么可以这样做:
- Matrix m = new Matrix();
- m.postRotate(30);
- m.postTranslate(100, 100);
pre是前乘,参数给出的矩阵乘以当前的矩阵。所以操作是在当前矩阵的最前面发生的。例如上面的例子,如果用pre的话
- Matrix m = new Matrix();
- m.setTranslate(100, 100);
- m.preRotate(30);
旋转、缩放和倾斜都可以围绕一个中心点来进行,如果不指定,默认情况下,是围绕(0,0)点来进行。
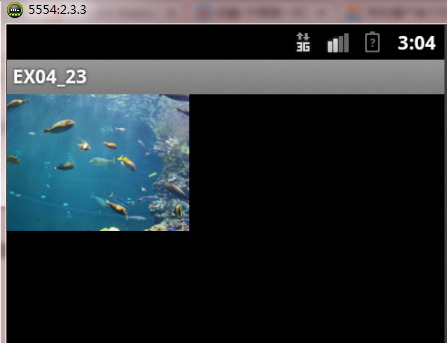
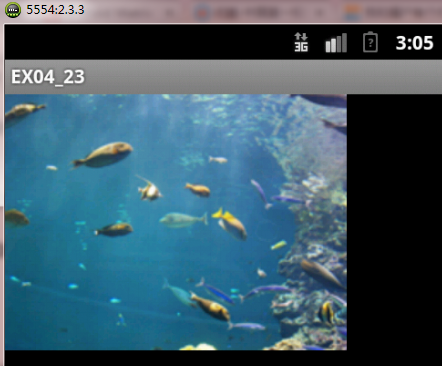
下面给出一个例子,实现图片的缩小和放大:
首先以两张截图示例本程序:
下面给出实现的代码:
1.布局文件如下:
<?xml version="1.0" encoding="utf-8"?><RelativeLayout android:id="@+id/layout1" android:layout_width="fill_parent" android:layout_height="fill_parent" xmlns:android="http://schemas.android.com/apk/res/android"> <ImageView android:id="@+id/myImageView" android:layout_width="200px" android:layout_height="150px" android:src="@drawable/ex04_23" android:layout_alignParentLeft="true" /> <Button android:id="@+id/myButton1" android:layout_width="90px" android:layout_height="60px" android:text="@string/str_button1" android:textSize="18sp" android:layout_alignParentLeft="true" android:layout_alignParentBottom="true" /> <Button android:id="@+id/myButton2" android:layout_width="90px" android:layout_height="60px" android:text="@string/str_button2" android:textSize="18sp" android:layout_toRightOf="@+id/myButton1" android:layout_alignParentBottom="true" /></RelativeLayout>
2.实现代码
public class EX04_23 extends Activity{ /* 相关变量声明 */ private ImageView mImageView; private Button mButton01; private Button mButton02; private RelativeLayout layout1; private Bitmap bmp; private int id=0; private int displayWidth; private int displayHeight; private float scaleWidth=1; private float scaleHeight=1; /** Called when the activity is first created. */ @Override public void onCreate(Bundle savedInstanceState) { super.onCreate(savedInstanceState); /* 加载main.xml Layout */ setContentView(R.layout.main); /* 取得屏幕分辨率大小 */ DisplayMetrics dm=new DisplayMetrics(); getWindowManager().getDefaultDisplay().getMetrics(dm); displayWidth=dm.widthPixels; /* 屏幕高度须扣除下方Button高度 */ displayHeight=dm.heightPixels-80; /* 初始化相关变量 */ bmp=BitmapFactory.decodeResource(getResources(),R.drawable.ex04_23); mImageView = (ImageView)findViewById(R.id.myImageView); layout1 = (RelativeLayout)findViewById(R.id.layout1); mButton01 = (Button)findViewById(R.id.myButton1); mButton02 = (Button)findViewById(R.id.myButton2); /* 缩小按钮onClickListener */ mButton01.setOnClickListener(new Button.OnClickListener() { @Override public void onClick(View v) { small(); } }); /* 放大按钮onClickListener */ mButton02.setOnClickListener(new Button.OnClickListener() { @Override public void onClick(View v) { big(); } }); } /* 图片缩小的method */ private void small() { int bmpWidth=bmp.getWidth(); int bmpHeight=bmp.getHeight(); /* 设定图片缩小的比例 */ double scale=0.8; /* 计算出这次要缩小的比例 */ scaleWidth=(float) (scaleWidth*scale); scaleHeight=(float) (scaleHeight*scale); /* 生成reSize后的Bitmap对象 */ Matrix matrix = new Matrix(); matrix.postScale(scaleWidth, scaleHeight); // public static Bitmap createBitmap (Bitmap source, int x, int y, int width, int height, Matrix m, boolean filter) // Added in API level 1// Returns an immutable bitmap from subset of the source bitmap, transformed by the optional matrix. The new bitmap may be the same object as source, or a copy may have been made. It is initialized with the same density as the original bitmap. If the source bitmap is immutable and the requested subset is the same as the source bitmap itself, then the source bitmap is returned and no new bitmap is created.//// Parameters// source The bitmap we are subsetting // x The x coordinate of the first pixel in source // y The y coordinate of the first pixel in source // width The number of pixels in each row // height The number of rows // m Optional matrix to be applied to the pixels // filter true if the source should be filtered. Only applies if the matrix contains more than just translation. //// Returns// A bitmap that represents the specified subset of source Bitmap resizeBmp = Bitmap.createBitmap(bmp,0,0,bmpWidth,bmpHeight,matrix,true); if(id==0) { /* 如果是第一次按,就移除原来设定的ImageView */ layout1.removeView(mImageView); } else { /* 如果不是第一次按,就移除上次放大缩小所生成的ImageView */ layout1.removeView((ImageView)findViewById(id)); } /* 产生新的ImageView,放入reSize的Bitmap对象,再放入Layout中 */ id++; ImageView imageView = new ImageView(EX04_23.this); imageView.setId(id); imageView.setImageBitmap(resizeBmp); layout1.addView(imageView); setContentView(layout1); /* 因为图片放到最大时放大按钮会disable,所以在缩小时把他重设为enable */ mButton02.setEnabled(true); } /* 图片放大的method */ private void big() { int bmpWidth=bmp.getWidth(); int bmpHeight=bmp.getHeight(); /* 设定图片放大的比例 */ double scale=1.25; /* 计算这次要放大的比例 */ scaleWidth=(float)(scaleWidth*scale); scaleHeight=(float)(scaleHeight*scale); /* 产生reSize后的Bitmap对象 */ Matrix matrix = new Matrix(); matrix.postScale(scaleWidth, scaleHeight); Bitmap resizeBmp = Bitmap.createBitmap(bmp,0,0,bmpWidth,bmpHeight,matrix,true); if(id==0) { /* 如果是第一次按,就移除原来设定的ImageView */ layout1.removeView(mImageView); } else { /* 如果不是第一次按,就移除上次放大缩小所生成的ImageView */ layout1.removeView((ImageView)findViewById(id)); } /* 产生新的ImageView,放入reSize的Bitmap对象,再放入Layout中 */ id++; ImageView imageView = new ImageView(EX04_23.this); imageView.setId(id); imageView.setImageBitmap(resizeBmp); layout1.addView(imageView); setContentView(layout1); /* 如果再放大会超过屏幕大小,就把Button disable */ if(scaleWidth*scale*bmpWidth>displayWidth||scaleHeight*scale*bmpHeight>displayHeight) { mButton02.setEnabled(false); } }}说明:
因为在Android中不允许ImageView在产生之后,动态修改其长度和宽度,所以,为了实现图片的放大,缩小的共功能,使用的方式是当用户在单击按钮之后,需要将原布局文件中的图片文件删除,重新生成一个ImageView,再放入Layout之中。