引:闲来无事,在个人pc机上尝试了一下类似于工作中的开发环境。
参考了网上各种版本,加以操作,最后搭建完毕,并把部署过程记录下来。
整个过程没有什么的难点,只是走一个搭建的流程。
有理解不对的地方,请指正。
1.安装 Maven
1.1 resource: url = http://maven.apache.org/download
eg. Down apache-maven-3.0.4-bin.zip
extract .zip to local
1.2 enviroment config
eg. My maven home path= E:\maven
add environment as below:
MAVEN_HOME=E:\maven
Make sure JAVA_HOME is already in your environment
Add Path=….. ;%MAVEN%/bin;
Finally open cmd to test mvn , you can input this command :mvn –v
If the following information appear on your screen.that indicated maven has been installed successfully.

2.安装 Eclipse Maven plugin
2.1 auto install
url =http://download.eclipse.org/technology/m2e/releases
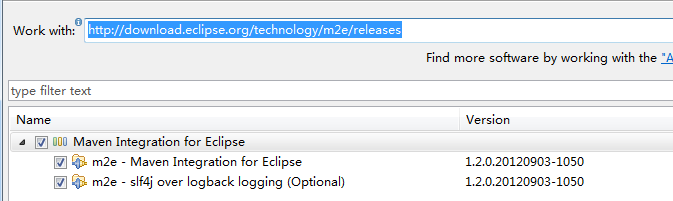
The install time may be tens of minutes.
And then restart eclipse to check whether the m2eclipse-plugin has been installed successfully or not.
3,安装nexus 服务 version=2.1.2
3.1 offical website= http://www.sonatype.org/nexus/
Down page= http://www.sonatype.org/nexus/go
Down url= http://www.sonatype.org/downloads/nexus-2.1.2-bundle.zip
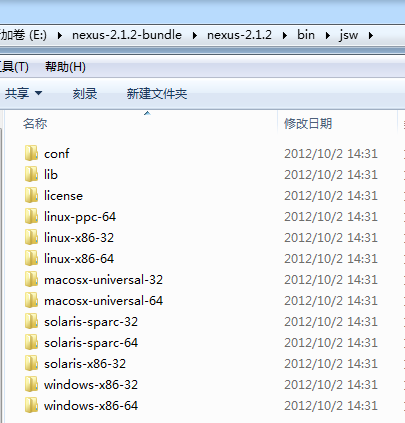
3.2 extract .zip to local
File directory as below:

3.3 config nexus.properties
Dir = nexus-2.1.2-bundle\nexus-2.1.2\conf\nexus.properties
Config as below
# Jetty sectionapplication-port=8081application-host=127.0.0.1nexus-webapp=${bundleBasedir}/nexusnexus-webapp-context-path=/nexus# Nexus sectionnexus-work=${bundleBasedir}/../sonatype-work/nexusruntime=${bundleBasedir}/nexus/WEB-INFpr.encryptor.publicKeyPath=/apr/public-key.txt3.4 start service
Eg.my os is win7 X64
Dir= E:\nexus-2.1.2-bundle\nexus-2.1.2\bin\jsw\windows-x86-64
Chick sequence as below:
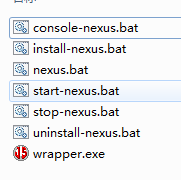
3.4.1 install-nexus.bat
3.4.2 console-nexus.bat
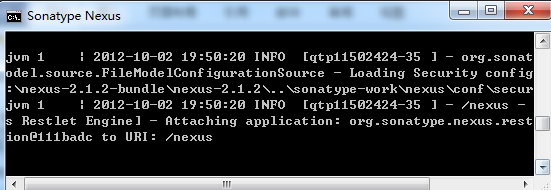
3.5 Test url=http://127.0.0.1:8081/nexus/
If entry the homepage with no problems ,that indicate Nexus has been started successfully
3.6 login with administrator account. Default is :username= admin / password=admin123
3.7 config Repositories
Eg. Central,Releases,Snapshots
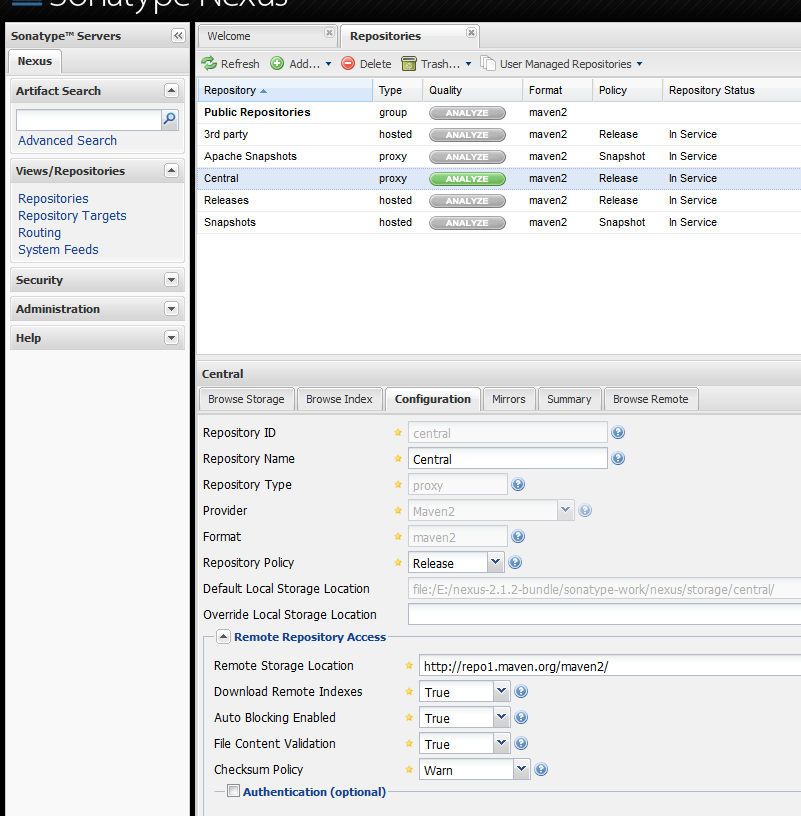
Check “Remote Storage Location URL” and “Download Remote Indexes” configuration.
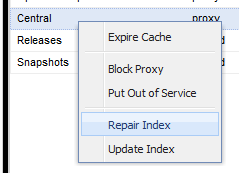
Click the right mouse button and select “Repair Index” and “Update Index”
If your network is ok and then the following picture will appear:
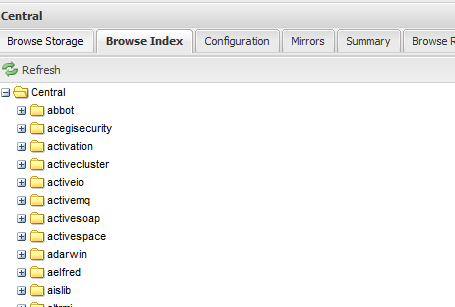
That indicate the index with maven repositories has been updated. And then you can search lib with nexus.
4. 整合Eclipse和Nexus
4.1 config Maven settings.xml
4.1.1 Add loical repository as below:
<localRepository>E:/repo</localRepository>
4.1.2 add server in servers:
<servers> <server> <id>deploymentRepo</id> <username>repouser</username> <password>repopwd</password> </server> --> <server> <id>releases</id> <username>admin</username> <password>admin123</password> </server> <server> <id>snapshots</id> <username>admin</username> <password>admin123</password> </server> </servers>
4.1.3 add profiles and activeProfiles:
<profiles> <profile> <id>dev</id> <repositories> <repository> <id>nexus</id> <url>http://127.0.0.1:8081/nexus/content/groups/public/</url> <releases> <enabled>true</enabled> </releases> <snapshots> <enabled>true</enabled> </snapshots> </repository> </repositories> <pluginRepositories> <pluginRepository> <id>nexus</id> <url>http://127.0.0.1:8081/nexus/content/groups/public</url> <releases> <enabled>true</enabled> </releases> <snapshots> <enabled>true</enabled> </snapshots> </pluginRepository> </pluginRepositories> </profile> </profiles> <activeProfiles> <activeProfile>dev</activeProfile> </activeProfiles>
4.1.4 all settings.xml like this:
<?xml version="1.0" encoding="UTF-8"?><settings xmlns="http://maven.apache.org/SETTINGS/1.0.0" xmlns:xsi="http://www.w3.org/2001/XMLSchema-instance" xsi:schemaLocation="http://maven.apache.org/SETTINGS/1.0.0 http://maven.apache.org/xsd/settings-1.0.0.xsd"><localRepository>E:/repo</localRepository> <pluginGroups> </pluginGroups> <servers> <server> <id>releases</id> <username>admin</username> <password>admin123</password> </server> <server> <id>snapshots</id> <username>admin</username> <password>admin123</password> </server> </servers> <profiles> <profile> <id>dev</id> <repositories> <repository> <id>nexus</id> <url>http://127.0.0.1:8081/nexus/content/groups/public/</url> <releases> <enabled>true</enabled> </releases> <snapshots> <enabled>true</enabled> </snapshots> </repository> </repositories> <pluginRepositories> <pluginRepository> <id>nexus</id> <url>http://127.0.0.1:8081/nexus/content/groups/public</url> <releases> <enabled>true</enabled> </releases> <snapshots> <enabled>true</enabled> </snapshots> </pluginRepository> </pluginRepositories> </profile> </profiles> <activeProfiles> <activeProfile>dev</activeProfile> </activeProfiles></settings>
4.2 change eclipse setting
4.2.1 use your installed maven
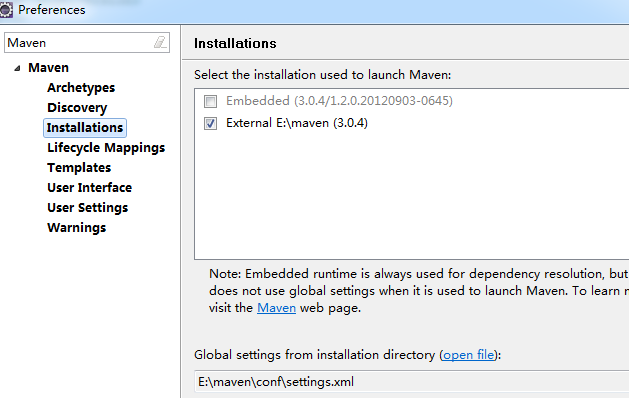
4.2.2 select source xml:
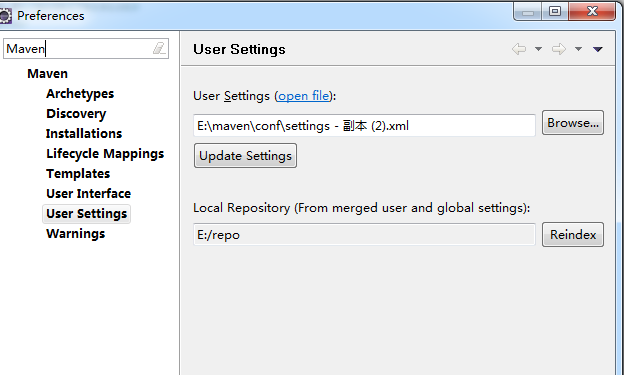
4.2.3 click “Update Settings”
4.3 create a new project to test
4.3.1 create a nomal java project or directly create a maven project
If you create a nomal java project,then convert it to a Maven project as below

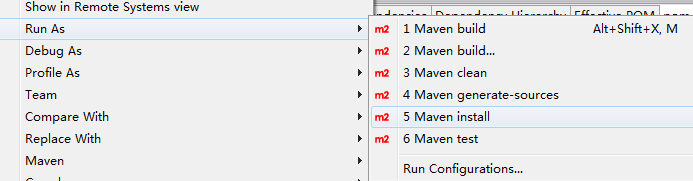
4.3.2 install your project
If no problem that indicate your config is correct.
4.4 snapshot and release
4.4.1 add elements to your project pom.xml as below:
<distributionManagement> <repository> <id>releases</id> <url>http://127.0.0.1:8081/nexus/content/repositories/releases</url> </repository> <snapshotRepository> <id>snapshots</id> <url>http://127.0.0.1:8081/nexus/content/repositories/snapshots</url> </snapshotRepository></distributionManagement>
Full pom.xml may be like this:

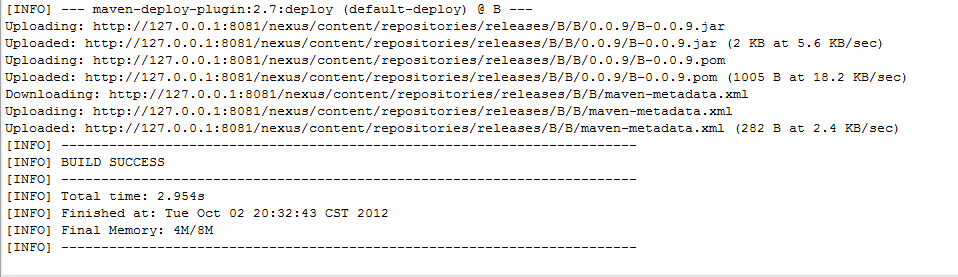
4.1.2 Then run maven command “deploy”
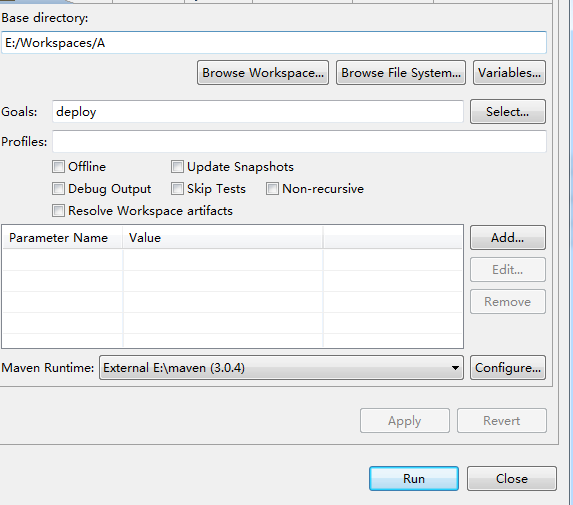
Run this and following information will appear:
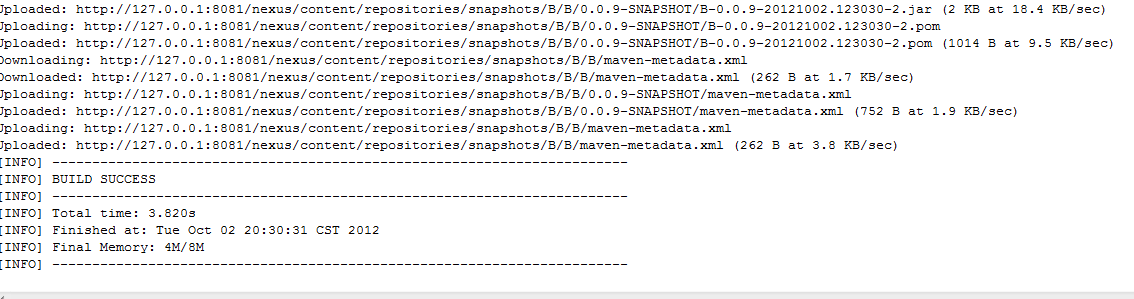
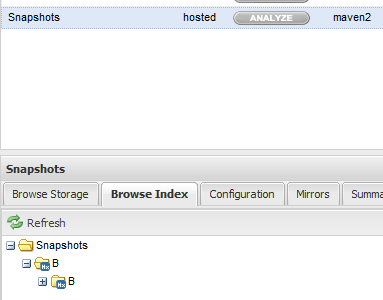
Then open nexus home page , you can find the snapshot version.
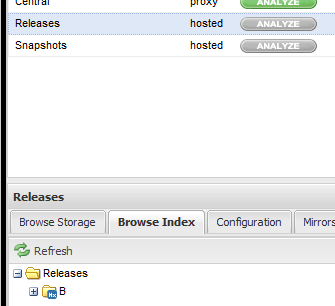
4.1.3 deploy release version
Change the pom.xml as :
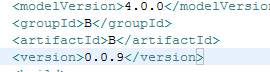
Then run deploy command as last.
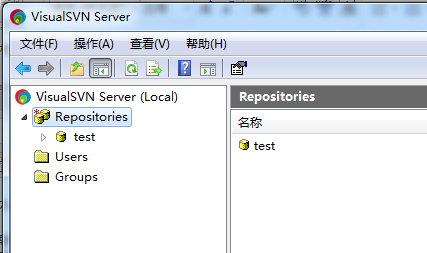
5 安装svn
5.1 svn server down url=http://www.visualsvn.com/downloads/
Choice VisualSVN Server
One step by one step follow by windows setup information.
5.2 svn client http://tortoisesvn.net/downloads#
Down install software and language packs
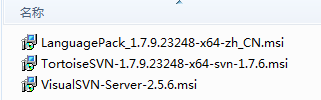
Like this, all steps are easy and clearly
Over
thx all.