通过前面的了解,SpringBoot其实就是帮助我们整合了SSM框架,以及其它第三方框架的一个工具。在使用方面,利用的还是SSM中的知识
一、打包部署
之前只是在本地起一个服务跑项目,当需要发布到真实服务器时,需要用到maven插件
1. 导入插件
如果是通过idel的插件新建的SpringBoot项目,pom.xml中会自动引入该插件:
<build><plugins><plugin><groupId>org.springframework.boot</groupId><artifactId>spring-boot-maven-plugin</artifactId></plugin></plugins></build>工程也分为两种:jar和war
2. 打包jar
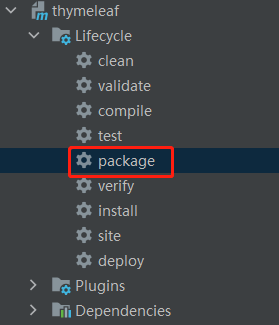
2.1 Maven编译
默认不指定的情况下,工程就是jar,打包jar很简单,执行Maven的package任务:
等待编译结束后,会在target目录下生成jar文件:

2.2 启动
复制到任意文件夹下,可以通过dos java -jar指令直接启动运行:

注意jdk版本
正常启动后,即可进行访问,jar打包是将tomcat也打包进了jar包中
3. 打包war
war中不包含tomcat,需要我们手动将war包放入tomcat的webapps目录下,所以需要移除部分依赖
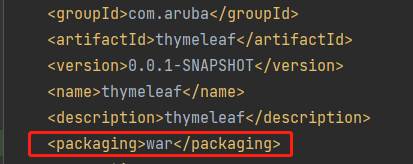
3.1 配置
使用packaging标签指定项目使用war方式打包:
3.2 排除依赖
由于tomcat自带servlet相关,而springboot启动器中依赖了servlet的jar,需要排除它们:
<dependency><groupId>org.springframework.boot</groupId><artifactId>spring-boot-starter-web</artifactId><!--排除web启动中自动依赖的tomcat插件--><exclusions><exclusion><groupId>org.springframework.boot</groupId><artifactId>spring-boot-starter-tomcat</artifactId></exclusion></exclusions>
</dependency>
移除后,使用servlet的地方会报错,我们手动将tomcat启动器以provided方式导入:
<dependency><groupId>org.springframework.boot</groupId><artifactId>spring-boot-starter-tomcat</artifactId><!--打包的时候可以不用包进去,别的设施会提供。事实上该依赖理论上可以参与编译,测试,运行等周期。相当于compile,但是打包阶段做了exclude操作--><scope>provided</scope>
</dependency>
3.3 修改启动类
由于依赖tomcat启动,所以SpringBoot启动类不再是执行main方法了,而是交由tomcat去调用启动
启动类继承SpringBootServletInitializer,并重写configure方法:
@SpringBootApplication
public class ThymeleafApplication extends SpringBootServletInitializer {//重写配置方法@Overrideprotected SpringApplicationBuilder configure(SpringApplicationBuilder application) {return application.sources(ThymeleafApplication.class);}public static void main(String[] args) {SpringApplication.run(ThymeleafApplication.class, args);}}
3.4 Maven编译
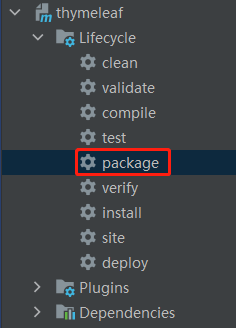
同样执行package任务:
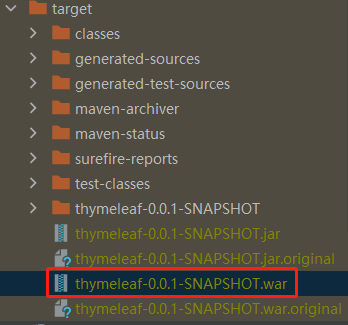
target目录下生成war包:
3.5 启动tomcat
将war文件放入tomcat的webapps目录下:
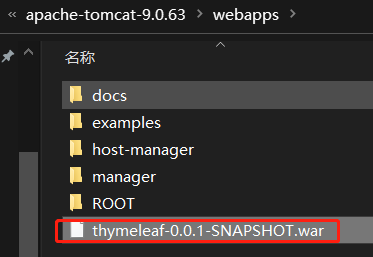
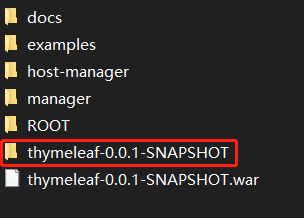
启动tomcat后,在webapps目录下,会生成对应war文件名的文件夹:
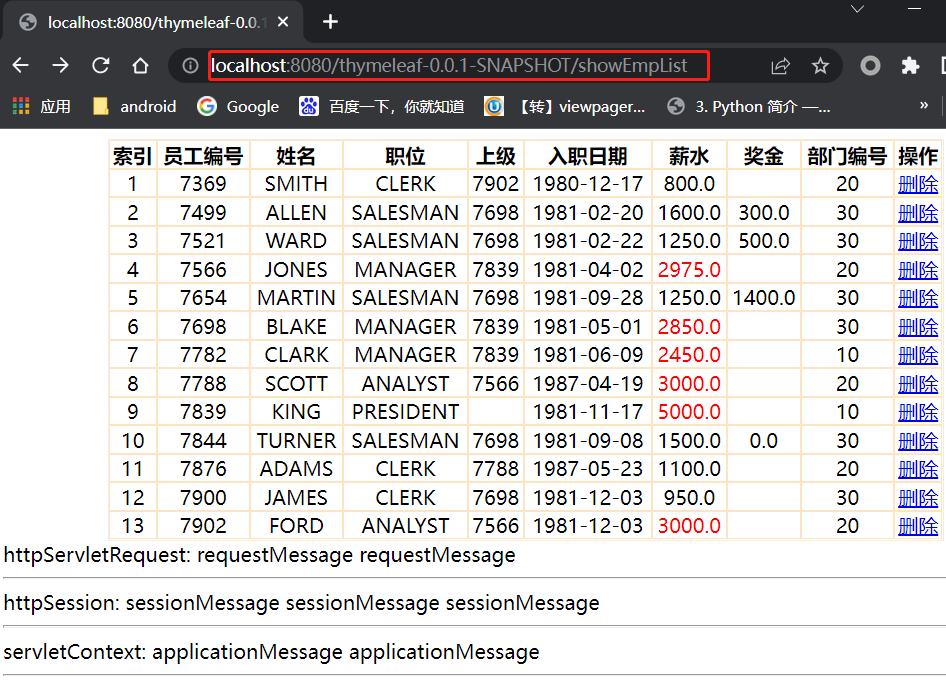
访问时带上该文件夹名:
二、异常处理
除了使用SpringMVC的异常处理方式外,SpringBoot还有简便的方式
1. 状态码匹配
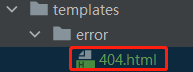
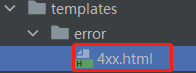
在templates新建error文件夹,里面新建相应的错误码的html,如:404.html 500.html
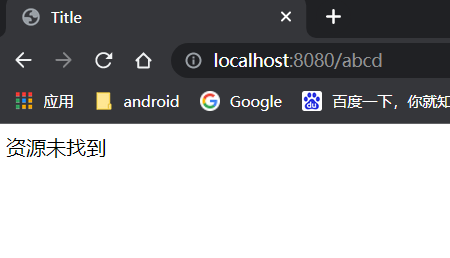
2. 模糊匹配
异常的页面名称可以命名为:4xx.html,这样4开头的http请求响应状态码都会往该页面上跳转
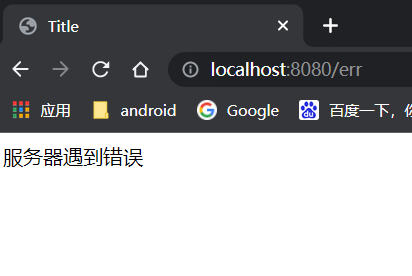
3. 全局匹配
在templates下新建error.html,没有对应状态码的异常都会跳转到该页面
三、拦截器
定义拦截器还是使用的SpringMVC--拦截器、异常处理中,实现HandlerInterceptor接口,不过还需要由SpringBoot进行配置
1. 定义拦截器
使用@Component注解,让Spring容器初始化
@Component
public class MyInterceptor implements HandlerInterceptor {@Overridepublic boolean preHandle(HttpServletRequest request, HttpServletResponse response, Object handler) throws Exception {System.out.println("处理单元处理之前");return true;}@Overridepublic void postHandle(HttpServletRequest request, HttpServletResponse response, Object handler, ModelAndView modelAndView) throws Exception {System.out.println("处理单元完成处理,响应处理结果之前");}@Overridepublic void afterCompletion(HttpServletRequest request, HttpServletResponse response, Object handler, Exception ex) throws Exception {System.out.println("视图解析器页面渲染完成,准备返回给浏览器时调用");}}
2. 配置拦截器
新建一个类,使用@Configuration注解并实现WebMvcConfigurer接口
@Configuration
public class MyConfig implements WebMvcConfigurer {@Autowiredprivate MyInterceptor myInterceptor;@Overridepublic void addInterceptors(InterceptorRegistry registry) {//表示拦截除了hello以外的所有请求registry.addInterceptor(myInterceptor).addPathPatterns("/**").excludePathPatterns("/hello");}
}
项目地址:
https://gitee.com/aruba/spring-boot-study.git