一、图片目标检测
代码如下:
# import the necessary packages
import numpy as np
import argparse
import cv2# construct the argument parse and parse the arguments
ap = argparse.ArgumentParser()
ap.add_argument("-i", "--image", required=True,help="path to input image")
ap.add_argument("-p", "--prototxt", required=True,help="path to Caffe 'deploy' prototxt file")
ap.add_argument("-m", "--model", required=True,help="path to Caffe pre-trained model")
ap.add_argument("-c", "--confidence", type=float, default=0.2,help="minimum probability to filter weak detections")
args = vars(ap.parse_args())# initialize the list of class labels MobileNet SSD was trained to
# detect, then generate a set of bounding box colors for each class
CLASSES = ["background", "aeroplane", "bicycle", "bird", "boat","bottle", "bus", "car", "cat", "chair", "cow", "diningtable","dog", "horse", "motorbike", "person", "pottedplant", "sheep","sofa", "train", "tvmonitor"]
COLORS = np.random.uniform(0, 255, size=(len(CLASSES), 3))# load our serialized model from disk
print("[INFO] loading model...")
net = cv2.dnn.readNetFromCaffe(args["prototxt"], args["model"])
#readNetFromTensorflow(model,config):this is used to load the tf model# load the input image and construct an input blob for the image
# by resizing to a fixed 300x300 pixels and then normalizing it
# (note: normalization is done via the authors of the MobileNet SSD
# implementation)image = cv2.imread(args["image"])
print("image shape is :",image.shape)
(h, w) = image.shape[:2]#img.shape[:2] 取长、宽
print("h,w is:",(h,w))
#blobFromImage():将图片的ndarray值转化为blob类型
#blob = cv2.dnn.blobFromImage(image, scalefactor=1.0, size, mean, swapRB=True),
#:swapRB,是选择是否交换R与B颜色通道
blob = cv2.dnn.blobFromImage(cv2.resize(image, (300, 300)), 0.007843, (300, 300), 127.5)# pass the blob through the network and obtain the detections and
# predictions
print("[INFO] computing object detections...")
net.setInput(blob)#给net类中的setInput()方法传入blob,即给模型输入数据
detections = net.forward()#forward之所以没有参数,应该是forward()在net类中的forward(self)的缘故
print("the detections is:",detections,"\n","the detections's type is ",type(detections),"\n","the shape is:",detections.shape)
print("detections.shape[2] is:",detections.shape[2])#2
# loop over the detections
'''
#三个参数 起点为0,终点为4,步长为0.1
输出[ 0.   0.1  0.2  0.3  0.4  0.5  0.6  0.7  0.8  0.9  1.  ]
a = np.arange(0, 1, 0.1)'''
for i in np.arange(0, detections.shape[2]):#detections,shape[2]表示输出的有几个对象# extract the confidence (i.e., probability) associated with the# predictionconfidence = detections[0, 0, i, 2]#MobileSSD网络中的置信度是降序排列的吗?# filter out weak detections by ensuring the `confidence` is# greater than the minimum confidenceif confidence > args["confidence"]:# extract the index of the class label from the `detections`,# then compute the (x, y)-coordinates of the bounding box for# the objectidx = int(detections[0, 0, i, 1])box = detections[0, 0, i, 3:7] * np.array([w, h, w, h])#[3:7]是左闭右开吗(startX, startY, endX, endY) = box.astype("int")# display the predictionlabel = "{}: {:.2f}%".format(CLASSES[idx], confidence * 100)print("[INFO] {}".format(label))cv2.rectangle(image, (startX, startY), (endX, endY),COLORS[idx], 2)y = startY - 15 if startY - 15 > 15 else startY + 15cv2.putText(image, label, (startX, y),cv2.FONT_HERSHEY_SIMPLEX, 0.5, COLORS[idx], 2)# show the output image
cv2.imshow("Output", image)
cv2.waitKey(0)
1.opencv 使用imshow()图片灰白色?
#在imshow("aa",img)底部加上waitkey(0)
waitkey(0)
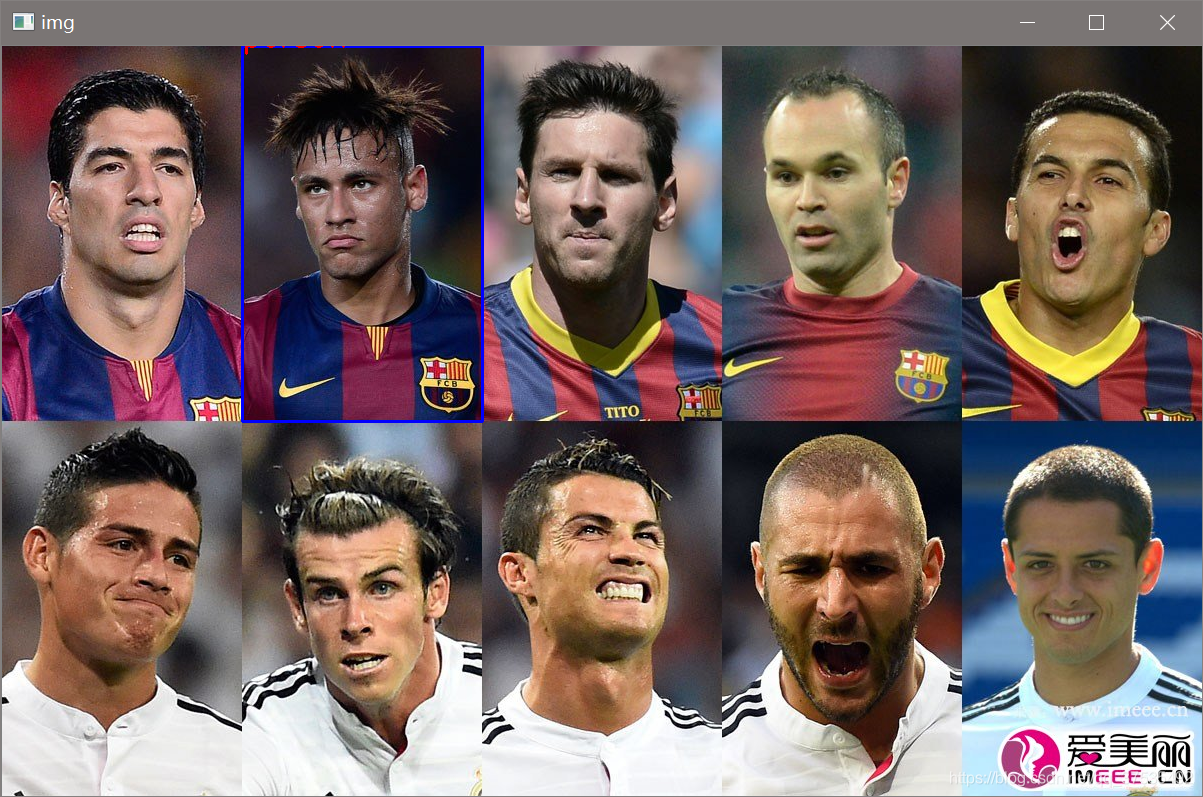
2.opencv 使用imshow()图片显示不全?
#在cv2.imshow()上方加上'???'一样的内容,注意参数是0
cv2.namedWindow('img', 0)
cv2.imshow("img",img)
3."{}: {:.2f}%" 是什么?
>>in
for i in range (10):print("hello,{}".format(i))print("1hello"+str(i))
out>>
>hello,0
1hello0
hello,1
1hello1
hello,2
1hello2
hello,3
1hello3
hello,4
1hello4
hello,5
1hello5
hello,6
1hello6
hello,7
1hello7
hello,8
1hello8
hello,9
1hello9
可以看到两个作用是等价的,format中自动将输入的变量类型:如int或者string类 型等统一转化为string类型.即{ }的作用是:此处有“待修改类型的变量”,这个变量是int类型或者string都可以的。
再看(%.2f)的意思是什么?
我们来看这样的输入:
>>in
fl=3.1415926
print(type(fl))
>>output
><class 'float'>
所以当我们定义一个变量的时候,不是定义一个变量的类型
:.2f 是将浮点数保留两位小数
>>in
count=1.233434
#zhoupeng={":.2f"}.format(count)
label = "{:.2f}".format( count)
print(label)
>>out
>1.23
请注意{ }应该在字符串" " 中。 其中{:.2f}中的 : 是配合format()用的,不能省略。
4. cv2.rectangle( )解析
用在给图片中画上矩形框,矩形框的意思就是给图片画上一个框。
#源程序代码
cv2.rectangle(image, (startX, startY), (endX, endY),COLORS[idx], 2)
例子:
import cv2
cv2.rectangle(img, (x1, y1), (x2, y2), (255,0,0), 2)x1,y1 ------
|          |
|          |
|          |
--------x2,y2
import cv2
img=cv2.imread("./images/retangle.png")
print(img.shape)
color=(255,0,0)
line=2
x1y1=(240,0)
x2y2=(480,375)
cv2.rectangle(img,(x1y1),(x2y2),color, line)
cv2.imshow("img",img)
5. cv2.putText( )解析
原型:
cv2.putText(img, label, (x1,y1)), font, font_size, color, font_weight)
#各参数依次是:图片,添加的文字,左上角坐标,字体,字体大小,颜色,字体粗细
用在给图片画上文本框,文本框的意思就是给图片某一个地方画上带有字的的标签。
在上图中,我们想在框住的对象外给出标注的Label,我们可以用cv2.putText()来实现这个功能,看下面:
import cv2
img=cv2.imread("./images/retangle.png")
print(img.shape)
color_blue=(255,0,0)
color_red=(0,0,255)
line=2
x1y1=(240,0)
x2y2=(480,375)
#下面是我们要增加的代码
label="person"
cv2.rectangle(img,(x1y1),(x2y2),color_blue, line)
cv2.putText(img, label, x1y1,cv2.FONT_HERSHEY_SIMPLEX, 1 color_red, 2)
cv2.imshow("img",img)

我们可以看到预测框的右下角是有person这个label的,现在有个问题就是我们不想让它出现在右下角,而是出现在左上角,好的,我们现在就把Label设置在左上角,将x2y2改为x1y1,我们来看下效果:
可以看到预测框的左上角只显示了一半的label,这是因为我们设置的左上角坐标(x1,y1)是在参数中的label的中间的位置,就像字母B一样,我们的左上角坐标(x1,y1)是在B字母中间的-这里开始的,所以我们在上图中看不到完整的label,为了避免这种现象,我们判断我们的y1,如果我们的y1是小于label一半的值,那么我们将y1增加(至少是大于(小于label一半)的值),在程序中我们可以这样做:我们不去判断我们的label一半值是多少,我们给出一个差不多的像素值,这里我们取4,然后y1增加的值经过我们的测试过发现15个像素值是最好的,代码如下:
import cv2
img=cv2.imread("./images/retangle.png")
print(img.shape)
color_blue=(255,0,0)
color_red=(0,0,255)
line=2
x1,y1=240,0
x2,y2=480,375
label="person"
cv2.rectangle(img,(x1,y1),(x2,y2),color_blue, line)
#增加这一行,并将上面的(x1,y1)方式改为x1,y1的形式
y1+=15 if y1<4 else y1
print("y1:",y1)
cv2.putText(img, label, (x1,y1),cv2.FONT_HERSHEY_SIMPLEX, 1, color_red, 2)
cv2.imshow("img",img)
效果如下:

6.三目运算符解析
c语言中的三目表达式一般为:
x = x%2==1 ? x+1:x;
?前面表示判断, :前面的是判断为真的结果, : 后面的是判断为假的结果。
但是Python中并没有? 这个语法,用了下面的三目表达式,即将if else 放在一行中,表达方式如下:
(为真时的结果) if( 判断条件) else (为假时的结果)
#源代码中的程序
y = startY - 15 if startY - 15 > 15 else startY + 15
实际上是判断 是否 :startY - 15 > 15, 若为真,则执行 y = startY - 15,若为假,则执行startY + 15
举个例子:
>>in
a=3 if 3>2 else 2
print(a)
>>out
>3
一定要注意else 后面的 不要重复写a=2,写2就可以了, 不然会报出错误:
SyntaxError: can't assign to conditional expression
7. cv2.waitkey()解析
waitkey()中的参数默认为0:代表无限等待,除非你×掉窗口
waitKey(5):意思是等待5ms。另外当等待时间内无任何操作时等待结束后返回-1,当等待时间内有输入字符时,则返回字符的ASICC码。
key=cv2.waitKey(1)&0xFF #cv2.waitKey()返回的是什么
if key==ord("q"):break
8. 补充:通过imutils.video库中引入VideoStream类调取摄像头
from imutils.video import VideoStream
import imutils
import cv2
import time
#vs=VideoStream(src=0).start()
#print(type(vs))vs=VideoStream(src=0).start()
time.sleep(2.0)
#fram=vs.read()#是否只有一张图片 ans(480,640,3)
#print(type(fram))#是否为Ndarray,ans:<class 'numpy.ndarray'>
while(True):fram_while=vs.read()#进入while后是否是连续不断的图片fram_while = imutils.resize(fram_while, width=400)print("fram_while is :",fram_while.shape)cv2.imshow("fram_while",fram_while)key=cv2.waitKey(1)key=key&0xffif key==ord("q"):   break
>>out
>fram_while is : (300, 400, 3)
与Opencv中的cv2.VideoCapture(0)是一样的效果
import cv2
cap=cv2.VideoCapture(0)
while(True):ret,frame=cap.read()cv2.imshow("frame",frame)key=cv2.waitKey(1)if key==ord("q"):break
cap.release()cv2.destroyAllWindows()
其中cap.release()方法是释放摄像头,cv2.destroyAllWindows()是关闭所有的窗口,即关闭摄像头最后一帧保留图片的显示窗口。
其中cap.release()是必须要有的,因为即使你按“q”键退出了while循环,但是此时的摄像头还是处于调用状态的,因为我们的cap=cv2.VideoCapture(0)是在循环体外,所以我们需要释放摄像头所占用的空间cap.release().
回到一开始我们说的VideoStream(src=1)的方法调用个摄像头,为什么这种方法不需要释放摄像头空间?
其实是我少写的原因,也是需要加上一个释放摄像头的操作的,不过我们这里是:
vs.stop()
但是很遗憾,当我用vs.stop()的时候,摄像头还是处于调用状态,因为摄像头的灯还是一直亮着,相比我用Opncv种的release()时候可以关闭摄像头来说,这可能是个Bug.
9.补充:FPS的计算
FPS的计算是通过两步:
1.对一张照片的检测前到检测结果显示完的时间进行记录t
2.对这一段时间处理的照片数量进行计算count
之后通过count/t
即通过
fps.fps()
来计算fps的值
def fps(self):# compute the (approximate) frames per secondreturn self._numFrames / self.elapsed()
二、实时目标检测(realtime_detection)
先上源码:
# USAGE
# python real_time_object_detection.py --prototxt MobileNetSSD_deploy.prototxt.txt --model MobileNetSSD_deploy.caffemodel# import the necessary packages
from imutils.video import VideoStream
from imutils.video import FPS
import numpy as np
import argparse
import imutils
import time
import cv2# construct the argument parse and parse the arguments
ap = argparse.ArgumentParser()
ap.add_argument("-p", "--prototxt", required=True,help="path to Caffe 'deploy' prototxt file")
ap.add_argument("-m", "--model", required=True,help="path to Caffe pre-trained model")
ap.add_argument("-c", "--confidence", type=float, default=0.2,help="minimum probability to filter weak detections")
args = vars(ap.parse_args())# initialize the list of class labels MobileNet SSD was trained to
# detect, then generate a set of bounding box colors for each class
CLASSES = ["background", "aeroplane", "bicycle", "bird", "boat","bottle", "bus", "car", "cat", "chair", "cow", "diningtable","dog", "horse", "motorbike", "person", "pottedplant", "sheep","sofa", "train", "tvmonitor"]
COLORS = np.random.uniform(0, 255, size=(len(CLASSES), 3))# load our serialized model from disk
print("[INFO] loading model...")
net = cv2.dnn.readNetFromCaffe(args["prototxt"], args["model"])# initialize the video stream, allow the cammera sensor to warmup,
# and initialize the FPS counter
print("[INFO] starting video stream...")
vs = VideoStream(src=0).start()
time.sleep(2.0)
fps = FPS().start()#FPS:每秒传输帧数(Frames Per Second))
#print("FPS().start():",FPS().start())# loop over the frames from the video stream
while True:# grab the frame from the threaded video stream and resize it# to have a maximum width of 400 pixelsframe = vs.read()#fps:开始记录第一帧frame = imutils.resize(frame, width=400)# grab the frame dimensions and convert it to a blob(h, w) = frame.shape[:2]blob = cv2.dnn.blobFromImage(cv2.resize(frame, (300, 300)),0.007843, (300, 300), 127.5)# pass the blob through the network and obtain the detections and# predictionsnet.setInput(blob)detections = net.forward()# loop over the detectionsfor i in np.arange(0, detections.shape[2]):#画出每一帧的目标检测结果# extract the confidence (i.e., probability) associated with# the predictionconfidence = detections[0, 0, i, 2]# filter out weak detections by ensuring the `confidence` is# greater than the minimum confidenceif confidence > args["confidence"]:# extract the index of the class label from the# `detections`, then compute the (x, y)-coordinates of# the bounding box for the objectidx = int(detections[0, 0, i, 1])box = detections[0, 0, i, 3:7] * np.array([w, h, w, h])(startX, startY, endX, endY) = box.astype("int")print("the startX,startY,endX,endY is :\n",startX,startY,endX,endY)# draw the prediction on the framelabel = "{}: {:.2f}%".format(CLASSES[idx],confidence * 100)cv2.rectangle(frame, (startX, startY), (endX, endY),COLORS[idx], 2)y = startY - 15 if startY - 15 > 15 else startY + 15print("the startX, y is:\n",startX,y)cv2.putText(frame, label, (startX, y),cv2.FONT_HERSHEY_SIMPLEX, 0.5, COLORS[idx], 2)# show the output framecv2.imshow("Frame", frame)key = cv2.waitKey(1) & 0xFF# if the `q` key was pressed, break from the loopif key == ord("q"):break# update the FPS counterfps.update()#fps记录完第一帧图片后,count++
#    print("fps.update():",fps.update())# stop the timer and display FPS information
fps.stop()
print("[INFO] elapsed time: {:.2f}".format(fps.elapsed()))
print("[INFO] approx. FPS: {:.2f}".format(fps.fps()))#start()和end()分别都记录了开始/结束的时间和count.然后通过count/t2-t1来计算FPS:每秒显示的图片数量# do a bit of cleanup
cv2.destroyAllWindows()
vs.stop()
需要去添加的知识点:
1.python面向对象编程
net = cv2.dnn.readNetFromCaffe(args["prototxt"], args["model"])
net.setInput(blob)#给net类中的setInput()方法传入blob,即给模型输入数据
detections = net.forward()#forward之所以没有参数,应该是forward()在net类中的forward(self)的缘故
2.深度学习网络可视化